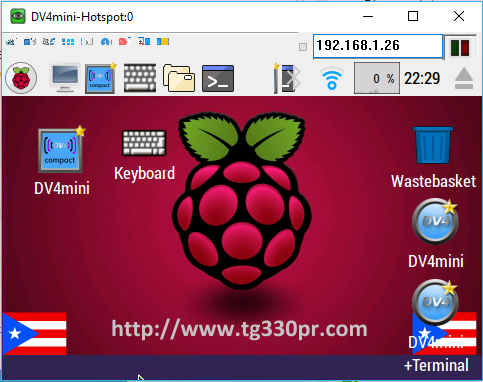
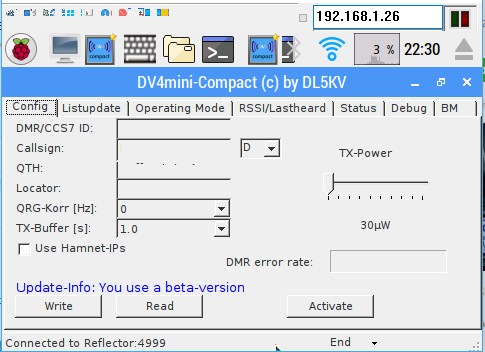
 Gracias a Ramon KP4TR por tu tiempo en este trabajo.
Bajar el archivo, hacer el unzip del archivo. Verán un archivo que es un .img. Queman el .img usando W32DiskImager. Una vez grabado instalas en un Raspberry PI2/3 y con pantalla LCD de Waveshark. Se puede usar en SD 8Gig.
Dar abajo al link para bajar la imagen.
http://tg330pr.com/dv4mini/dv4miniTFT35_Compact.zip
Hacer este ultimo paso para expandir la imagen y llenar el SD Card
2) Configure the Pi for Your Locale, Language, Tiemzone, and Keyboard LayoutThe default settings are for a UK based locale and keyboard setup. You need to set the locale, keyboard, and timezone for your location.
At the prompt, type:
sudo raspi-config
In the config, perform the following:
(1) Expand the filesystem to fill the SD card
(5) Set your locale, timezone, and keyboard for your location to en-US-UTF8
Then click Finish. When you exit it will reboot the Pi.

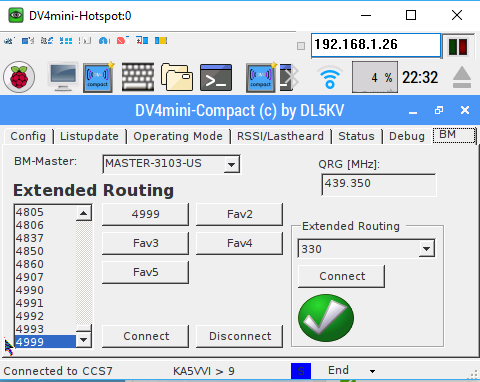
Example below with extended routing.

It will boot to the TFT screen, not the HDMI monitor.
If you want to switch to an HDMI monitor, use the terminal or SSH to it, login as pi/raspberry, and do this:
cd LCD-show/
./LCD-hdmi
It will reboot and show on HDMI monitor. Do this to switch back to LCD:
cd LCD-show/
./LCD35-show
